
Custom Animal Report, the Tractor of AAA Login
CUSTOM ANIMAL REPORT, THE TRACTOR OF AAA LOGIN
Needing to cull a few older cows?
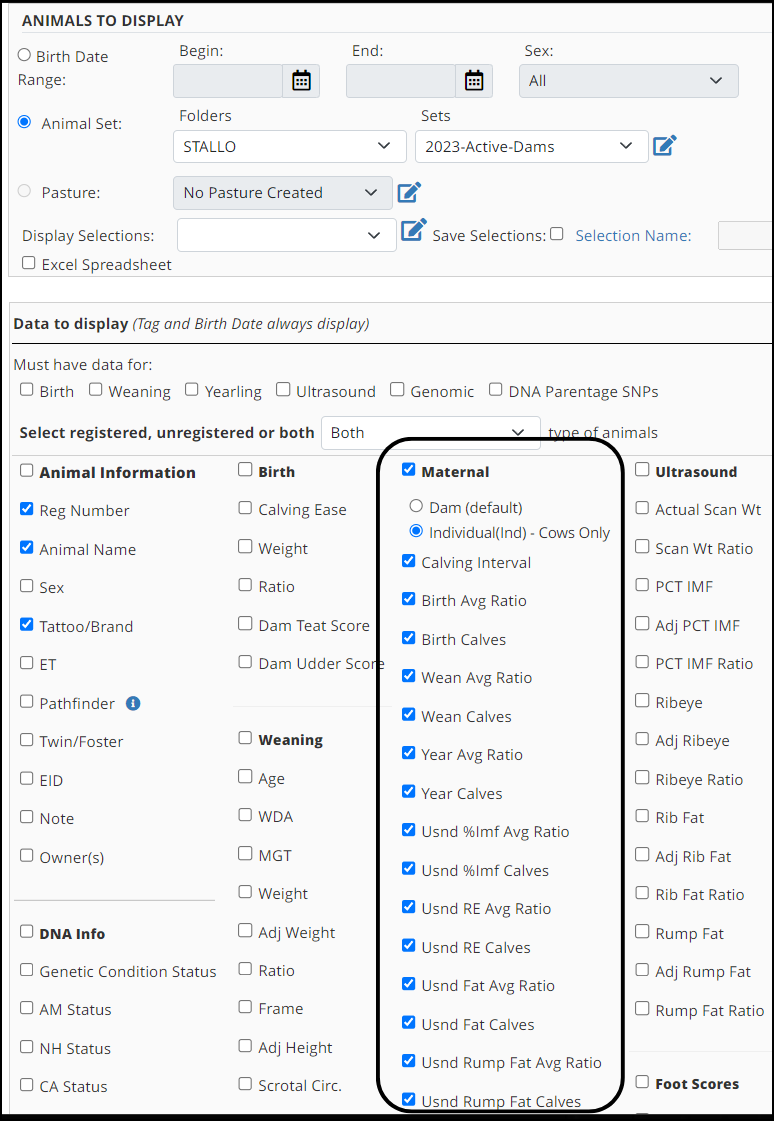
After the weaning data is submitted use the Maternal section that allows number of calves and ratio’s returned for your Active Dams. Be sure to use the radio button for the Individual one. When the information is returned you can sort by clicking on the heading Ind Wean Avg Ratio. Now your dams will be in order of the highest weaning ratio to the lowest. You can use this as an aide to help make those tough decisions when it comes time for culling.
Sale Day Support
There is a Sale Data section on the Custom Animal Report that can be very useful.
Once you have a set of your sale bulls set up, you can use the Custom Animal Report to help you in a variety of ways.
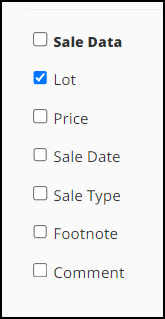
Add the Lot Number by using Purchase/Transfer History > Sale Data & History and then Sale Data. You can pull the sale bulls up one at a time by using the set you created, or you can use the Custom Animal Report to create an excel spreadsheet that you can use to import the lot numbers in one batch. It’s much quicker if you use the import file option.
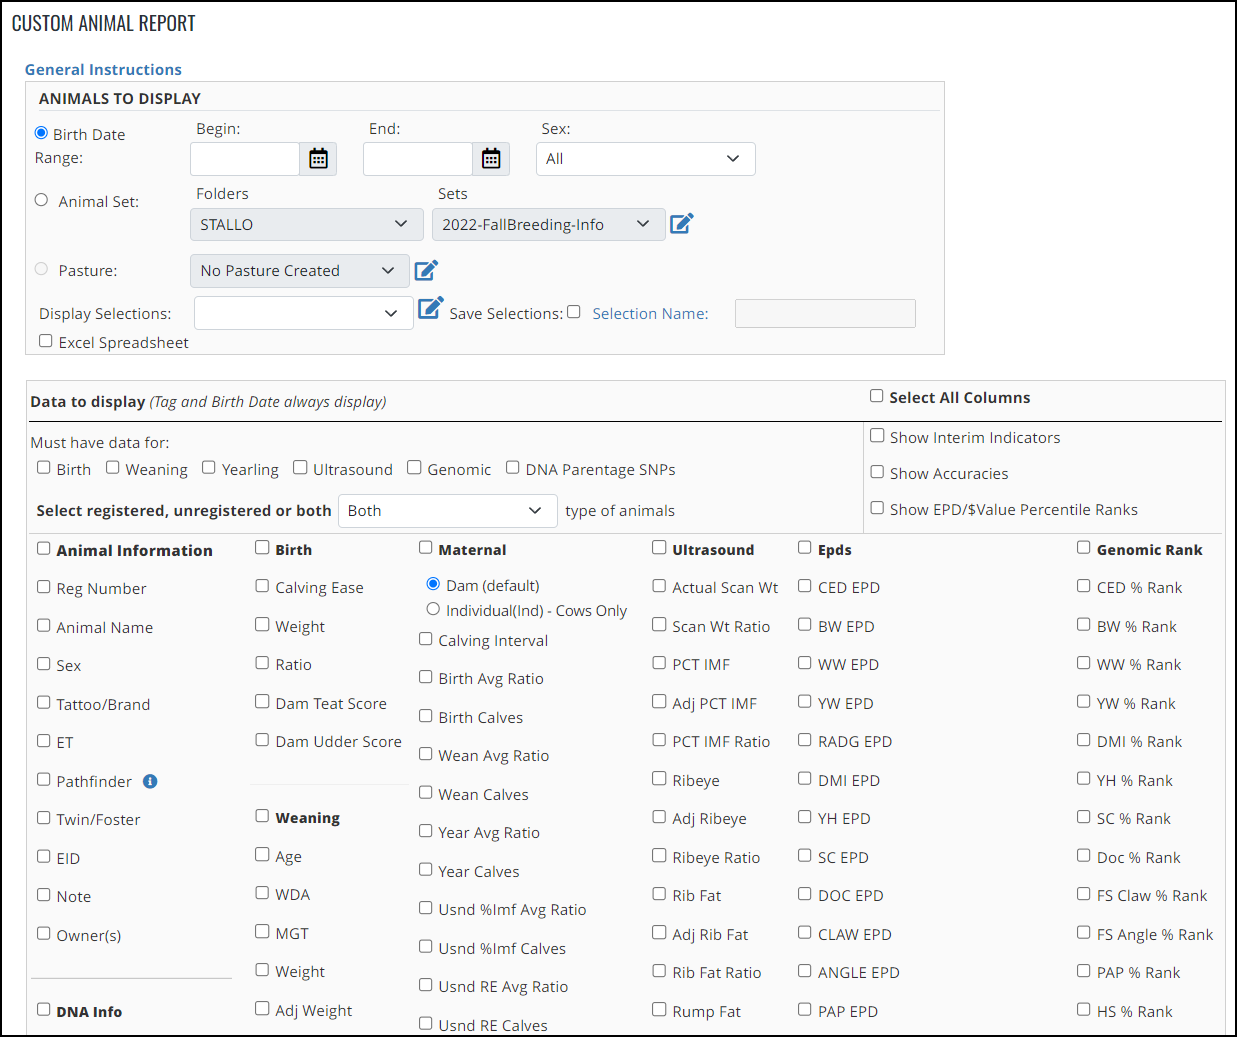
Now that you have lot numbers associated with the set you created you can use the Custom Animal Report to identify top lots. Select the checkboxes by the data that will be in the sale catalog such as birth weight, weaning adj weight, weaning ratio, yearling adj weight, and yearling ratio. Next select the EPDs that will be displayed. Before hitting search to return it all, check the box next to Show EPD/$Value Percentile Ranks. Be sure to also include the Lot number under the Sale Data section.
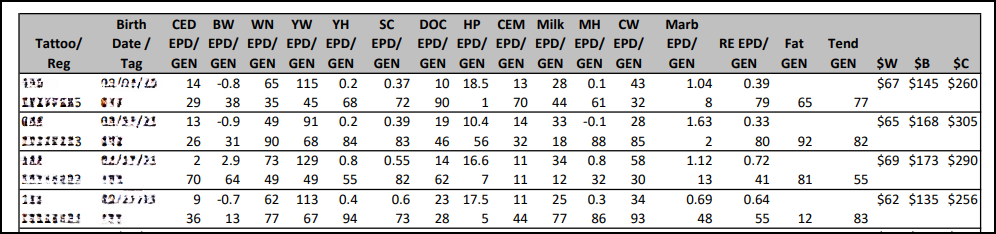
When the data is returned, you can sort the column headings to help identify top lots in the sale offering.
- Sort it by WN Ratio to have the highest ratio sorted at the top to identify the top weaning ratios in the offering.
- Sort it by YR Ratio to do the same by yearling ratio.
- Sort it by CED EPD to identify heifer bulls
- Sort it by WW %Rank to identify bulls in the top 25% of the breed for WW
- Sort it by $C, $B, or $W to identify the highest ones.
By having the lot number returned, you can use this to help you write footnotes. Take it to the next level and export the data into an excel spreadsheet. Then use excel to do the same type of sorts and this time color code the columns you want to highlight after the sorts. When you are done, you can look at a glance by lot number to see what you want to highlight for that bull.
When sale day approaches you can use the Custom Animal Report to create an update to date EPD sheet for buyers to look at.
Verify all data is entered for a calf crop
Another thing that can be done after weaning or yearling weights have been submitted is to return the individual pieces of data for what has been sent in.
Once weaning data is submitted, return the birth weight, weaning weight, weaning adj weight, and ratio. You can sort it by weaning weight to make sure all of the calves have a weaning weight that you are expecting. This makes it easy to identify ones where data might not have been submitted.
This comes in handy if you process ultrasound and want to double check that the ultrasound data goes on after the tech is done.
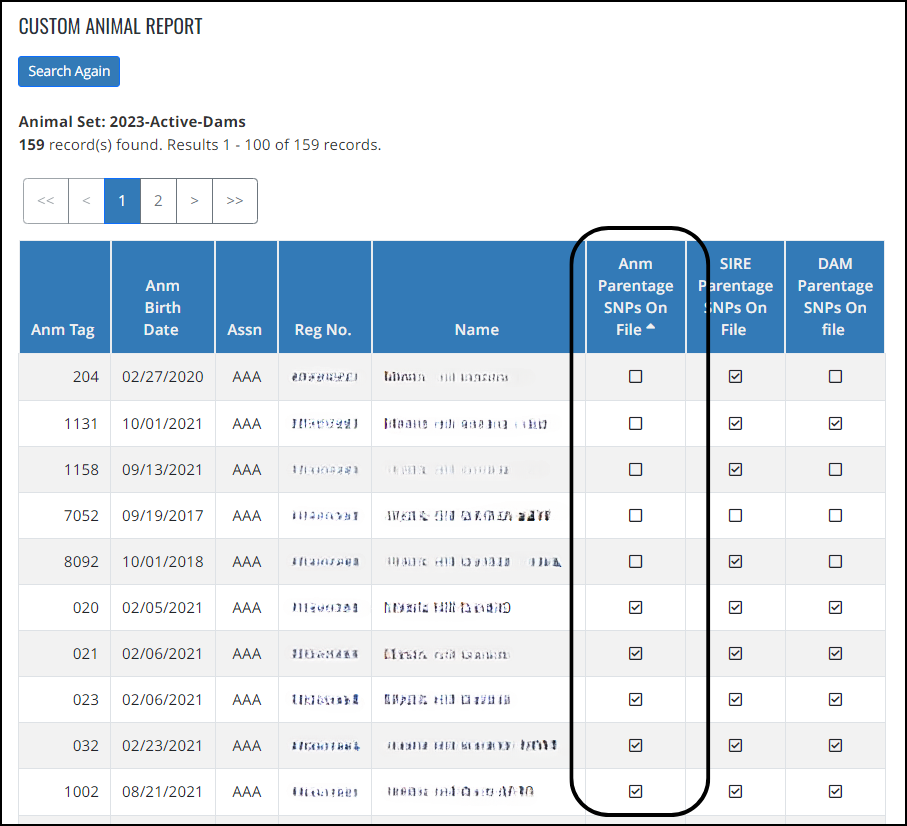
This method can also be used to make sure the calves that are supposed to be registered are and that there has been DNA turned in on the ones that you needed to.
DNA Exclusions
Another way to use the Custom Animal Report is to create files that can be used to assist with DNA Exclusions. If you have a couple of animals that don’t qualify to the sire, you can return all sires for a calf crop and export it to excel. Using excel you can sort the results by sire and then remove duplicates leaving the individual sires that were turned in. You can then copy those into a text file that can be imported in as alternate parents.
Thought an animal was an ET but not sure now? Using similar logic, return all calves born in the last few years. Export it to excel and filter out all of the ones except the ET ones. Now sort by Recip information and remove duplicates to find a majority of the registered recips you have. You can now test the one you thought was an ET and see if maybe the embryo didn’t take and instead it’s the registered recip natural calf.
Customized Breeding Sheets
Using a combination of the custom animal report and excel, you can create customized breeding sheets. Start with a set of active dams or heifers that you want to breed. You can return certain EPDs and genomics and create a stacked report that then can be studied to decide which bull to breed them to.
More tips:
- If you find yourself returning the same data over and over for something like footnotes, use the Save Selections and Display Selections option to name what you are returning. It will make it easier the next time you need that data.
- Need to do more with the data, grouping it up, creating a custom report, etc? Download the information into an Excel spreadsheet and you can do pretty much anything with it.
- If you want to return all of the fields for a specific section, you can just click on the bold heading and all of the checkboxes will check automatically.
- Want to only see what animals aren’t registered? Use the select registered, unregistered or both option.
Next time you are using the Custom Animal Report take a close look at all of the options available and see what you can do.